Changing Fields on a Workflow Transition
How to add, edit, and set fields as required on a workflow transition.
Contents
- 1. Introduction & Context
- 2. Key Features & Functions
- 3. Requirements
- 4. Step-by-Step Guide
- 5. Common Issues & Troubleshooting
- 6. Related Articles
1. Introduction & Context
Workflow transitions are the buttons in the top-right of a record that move it from one status to the next, and each transition controls which fields a user sees and completes at that step. This article shows a System Administrator how to change those fields and set each one as required or optional.
A workflow transition defines the way a record moves through its lifecycle. When a user clicks a transition button, the fields you attach to that transition are the fields they are asked to fill in before the record can move on. Editing those fields lets you decide what information is captured at each stage.
Who is it for? System Administrators. Only a System Administrator can add or update the fields on a workflow transition.
What does it impact? Any change applies to every user who uses that transition. For example, if you set the Comments field as required on a "Send for Review" transition, no one can move a record to review until they have filled it in.
2. Key Features & Functions
- Transition buttons: appear in the top-right of a record and move it from one status to the next.
- Field control: choose which fields a user sees and completes when they use a transition.
- Required or non-required: mark each field as mandatory or optional for that specific transition. A required field must be completed before the record can move on.
- Permission restrictions: some transitions are limited by permission, so only users with the right permissions see the button at all.
3. Requirements
- You must be a System Administrator to view and edit workflow transition fields.
- An existing workflow with at least one transition set up.
- The fields you want to add must already exist on the record type the workflow applies to.
4. Step-by-Step Guide
Changing the fields on a transition
- Go to Admin > Workflow.
- Select the workflow that contains the transition you want to update.
- From the list of transitions, click the relevant transition and go to the Field and Fields Required section.
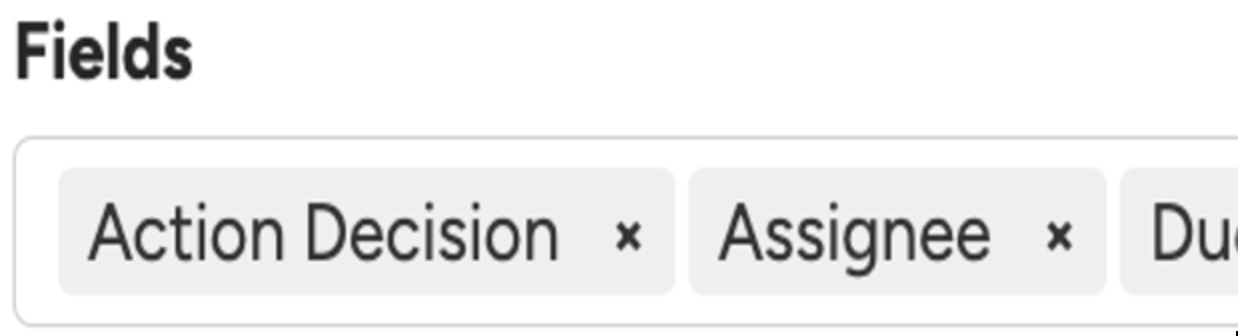
The Field and Fields Required section of a selected transition.
- Update the fields here, and set each one as required or non-required as needed.
- Click Save.
- A confirmation message appears: Successfully Updated Transition.
5. Common Issues & Troubleshooting
| Issue | Likely Cause | Solution |
| You cannot see the option to edit transition fields. | You are not a System Administrator. | Ask a System Administrator to make the change, or to grant you the access if appropriate. |
| A user cannot see a transition button on a record. | That transition has permission restrictions the user does not meet. | Check the permissions on the transition and confirm the user has the ones required to see it. |
| Users can move a record on without completing a field you expected them to fill in. | The field is set to non-required on that transition. | Open the transition, set the field as required in the Fields Required section, and save. |
| A field you want is not available to add to the transition. | The field does not yet exist on the record type the workflow applies to. | Create the field on the record type first, then return to the transition to add it. |
Best practices:
- Test the transition on a record after saving, to confirm the fields appear and behave as you expect.
- Only mark a field as required where the information is genuinely needed at that step.
- Let the people who use the transition know before you change what they are asked to complete.
▾Workflow Open full article »
Related article
How workflows are set up and how transitions define the way records move between statuses. Start here if you need to find or create the workflow that holds your transition.
Was this article helpful?
That’s Great!
Thank you for your feedback
Sorry! We couldn't be helpful
Thank you for your feedback
Feedback sent
We appreciate your effort and will try to fix the article