Security Groups
How to create security groups, assign permission sets to registers, and manage user access in the Clew Platform
Contents
- 1. Introduction & Context
- 2. Key Features & Functions
- 3. Requirements
- 4. Step-by-Step Guide
- 5. Common Issues & Troubleshooting
- 6. Related Articles
1. Introduction & Context
Security Groups provide a structured approach to managing user access within the Clew Platform, defining the level of access users have to registers and their modules (for example, Risk) so that users receive only the access they require.

How security groups connect users to permissions on registers.
Who is it for? System Administrators who create and manage security groups, and Team Administrators or Team Managers who assign team-linked groups to their members.
What does it impact? Security groups control what every assigned user can see and do across registers and modules. Changes to a group's permission sets immediately affect all users assigned to it.
2. Key Features & Functions
- Manage user access efficiently: assign permissions at a granular level to users, ensuring appropriate access to registers and locations.
- Centralise access control: maintain a structured and centralised permission management system.
- Provide granular control: define user capabilities such as Read-Only, Edit, CRUD (Create, Read, Update, Delete), and Admin access.
- Streamline new user onboarding: assign default access levels to new users automatically via the Default setting.
3. Requirements
- All users must be assigned to a Security Group to access registers or modules they are not directly related to (for example, as the Owner of a Risk).
- You must be a System Administrator to create and update the permission sets of a security group.
- To add a user to a security group, you must be a System Administrator, or, if Team Management is enabled, a Team Administrator or Team Manager.
4. Step-by-Step Guide
Creating a Security Group
- Access the Admin section from your name dropdown in the top right, then select Security Groups.
- Click the blue Add button.
- Complete the key fields using the reference table below.
| Field | Description |
| Title | Enter a suitable title (for example, Compliance: Read Only). |
| Description | Provide a brief explanation for future reference. |
| Available to Teams | Select the teams that can access this security group. |
| Active | Indicate if the group is active and can be assigned to registers. |
| Default | Decide if new users should be added to this group by default. |
| Default Project Permission Sets | These will automatically apply to all new projects created. |
- Assign permission sets to registers:
- Scroll down to the Register [Projects] section and click the edit icon.
- Assign the relevant permission set, and tick update entire subtree to apply permission sets to all the sub-registers.
- Save.
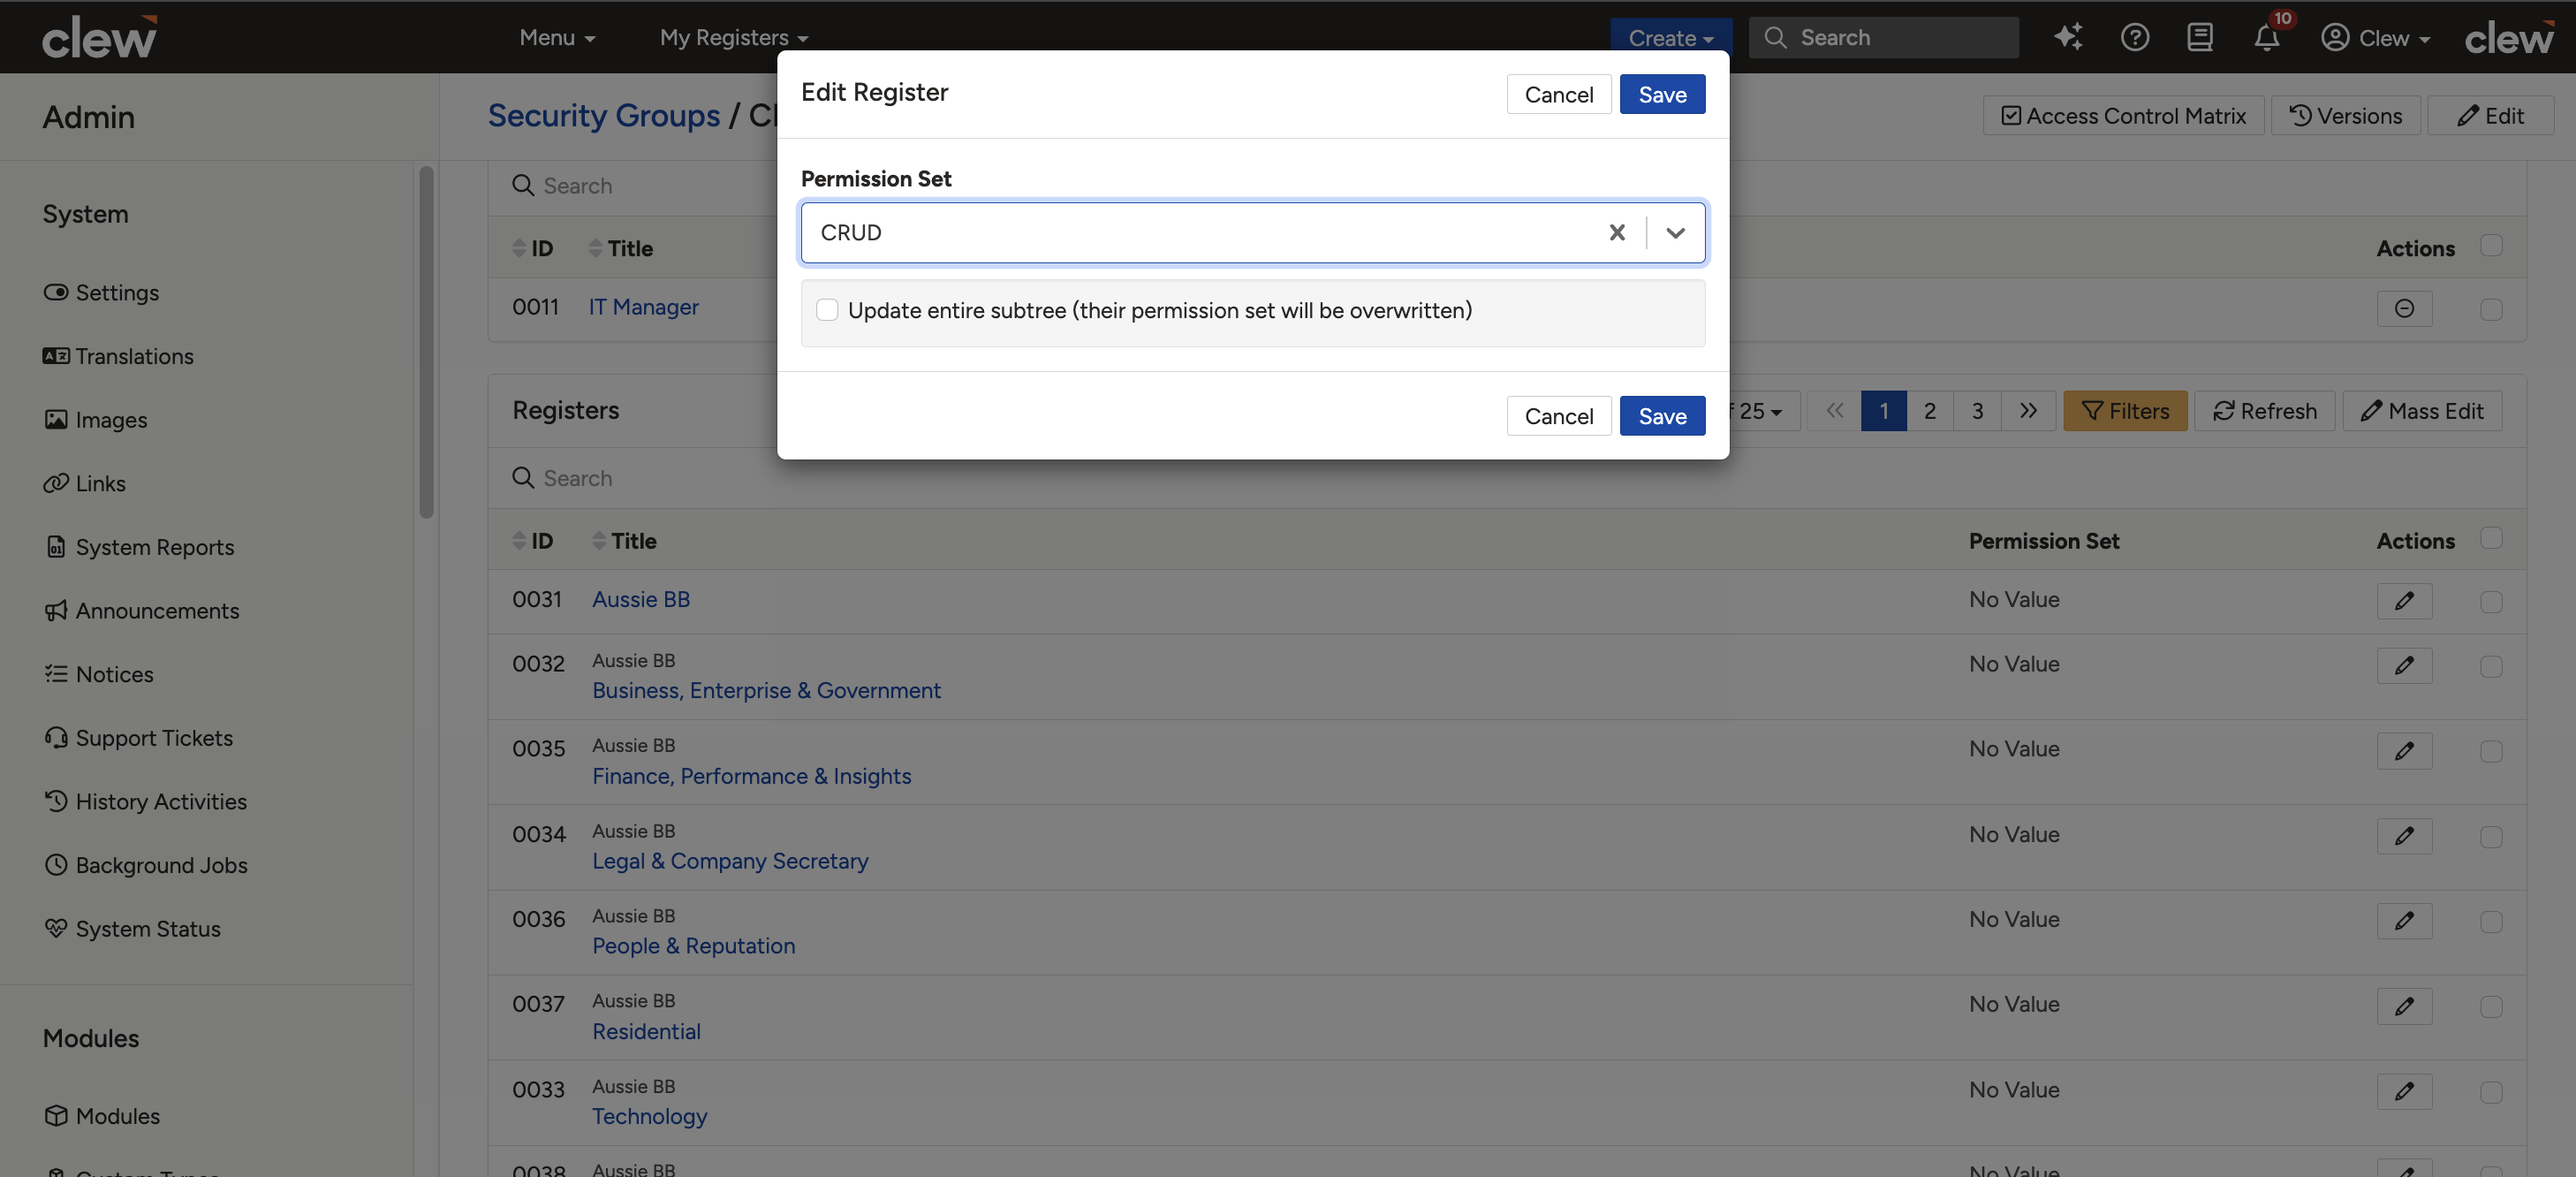
Assigning a permission set to a register, with the update entire subtree option.
- Add new users or roles to the security group: at the top of the page in the User/Roles section, click Add to assign new users to the security group and grant the associated permissions.
Checking a User's Security Groups
In a user-centric setting, there are two ways to see the security groups linked to a user.
Option 1: via the user's profile
- Go to Admin > Users.
- Click the Edit icon next to the user's name.
- Scroll down to the Security section. The Security Groups field lists the groups assigned to the user.
Option 2: via the Users list view
- Go to Admin > Users.
- Change from compact to detailed view via the large grid view icon.
- The security groups will be displayed on the list view for each user.
5. Common Issues & Troubleshooting
| Issue | Likely Cause | Solution |
| A user cannot access a register | The user's security group or its permission set does not cover that register | Verify their security group assignment and the permission set for the specific register via the Security Group. The same can be checked via the user's Access Control Matrix |
| A newly added user can see data they should not | A security group has the Default checkbox enabled, so it is auto-assigned to all new users | Check which security groups have Default enabled and adjust them so new users only receive intended access |
| A user can access all registers despite having no security group, or despite group restrictions | A Global Permission Set is enabled, which grants default access to all users | Check whether a Global Permission Set is enabled and confirm it reflects your intended access policy |
| A user belongs to a team linked to security groups but cannot access registers | Team membership alone does not apply the team's security groups | Ensure team members are explicitly assigned to the team's security groups |
| A user can see some registers but no Role or Security Group appears on their User page | The user is assigned a Role through their teams. Security groups assigned via teams do not appear on the User profile page but still apply | Check the user's team memberships and the security groups linked to those teams |
| Security Groups is not visible on a user, but Roles is | The system is Role-centric | Check the assigned Role in the Admin section to view its linked users or security groups |
Best practices:
- Use a clear naming convention. The recommended format is the register name plus an abbreviation for the permission set (for example, Register XXX: CRUD).
- Assign users and roles appropriately, ensuring users have security groups that align with their roles and responsibilities.
- Regularly review permissions and revoke unnecessary access for registers, users, and roles to stay aligned with access requirements.
- Monitor default assignments. Ensure default security groups are configured carefully to prevent unintended access for new users.
- Ensure the default permission sets within the security groups are configured correctly.
Was this article helpful?
That’s Great!
Thank you for your feedback
Sorry! We couldn't be helpful
Thank you for your feedback
Feedback sent
We appreciate your effort and will try to fix the article