Email Notifications
How to create, configure, and set conditions for scheduled email notifications in the Clew Platform
Contents
- 1. Introduction & Context
- 2. Key Features & Functions
- 3. Requirements
- 4. Step-by-Step Guide
- 5. Common Issues & Troubleshooting
- 6. Related Articles
1. Introduction & Context
Email notifications let you automatically send scheduled emails to users about their outstanding records in the Clew Platform, so nothing gets missed without anyone having to manually chase it up.
Notifications run on a configurable schedule and are only sent when the conditions you define are met at the time the process runs. Each email contains an optional message, a data table showing the relevant records, and an optional footer.
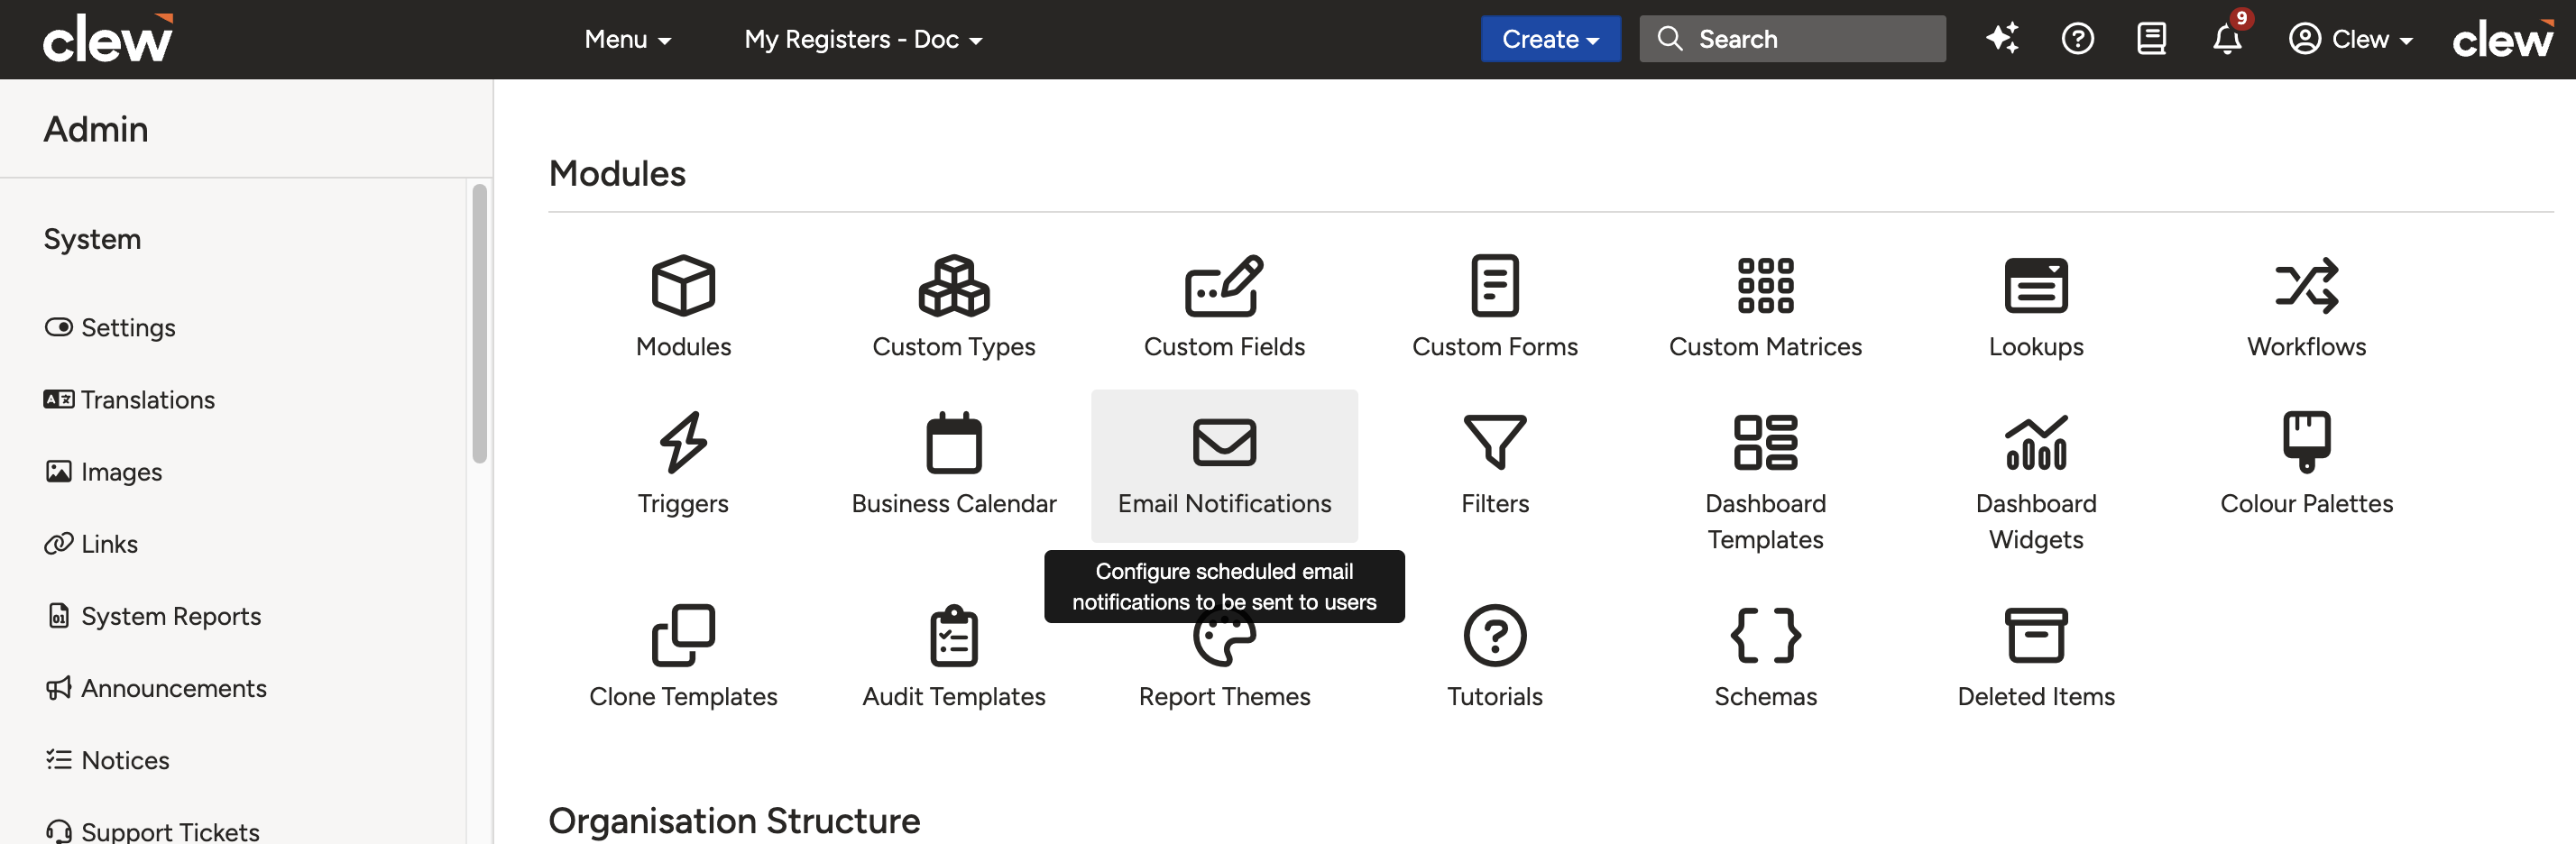
The Admin Email Notifications list view, showing notifications grouped by module.
Who is it for? System Administrators who create and manage notifications, and all users who receive them.
What does it impact? Notifications are module-specific. Each recipient only sees records they have Read access to. If a notification covers 10 records but a user can only view 5 of them, they will receive an email with only those 5.
2. Key Features & Functions
- User Notifications: Inform users about their outstanding activities in the Clew Platform, such as overdue actions or items awaiting their attention.
- Escalation Emails: Send automated escalation emails when items are not completed within agreed timeframes or when they meet a materiality threshold.
- Condition-Based Sending: Notifications only send when your configured conditions are met at run time. A notification set to run daily will not send an email every day, only when there are records that satisfy all conditions.
- Weekly Digest: The Clew Platform can group all email notifications across all modules into a single digest email, reducing inbox overload for users.
- Access-Controlled Content: Each recipient only sees the records they have Read access to, ensuring users never receive data they are not permitted to view.
- User Preference Controls: Users can set their own preference to receive notifications immediately, as a digest, or not at all, giving them control over their email load without administrator involvement.
3. Requirements
- System Administrator access is required to create, view, or update email notifications via the admin section.
- Recipients must have at least Read access to the relevant records to receive those records in a notification email.
- The module the notification applies to must already exist in the Clew Platform.
4. Step-by-Step Guide
Creating and Editing Email Notifications
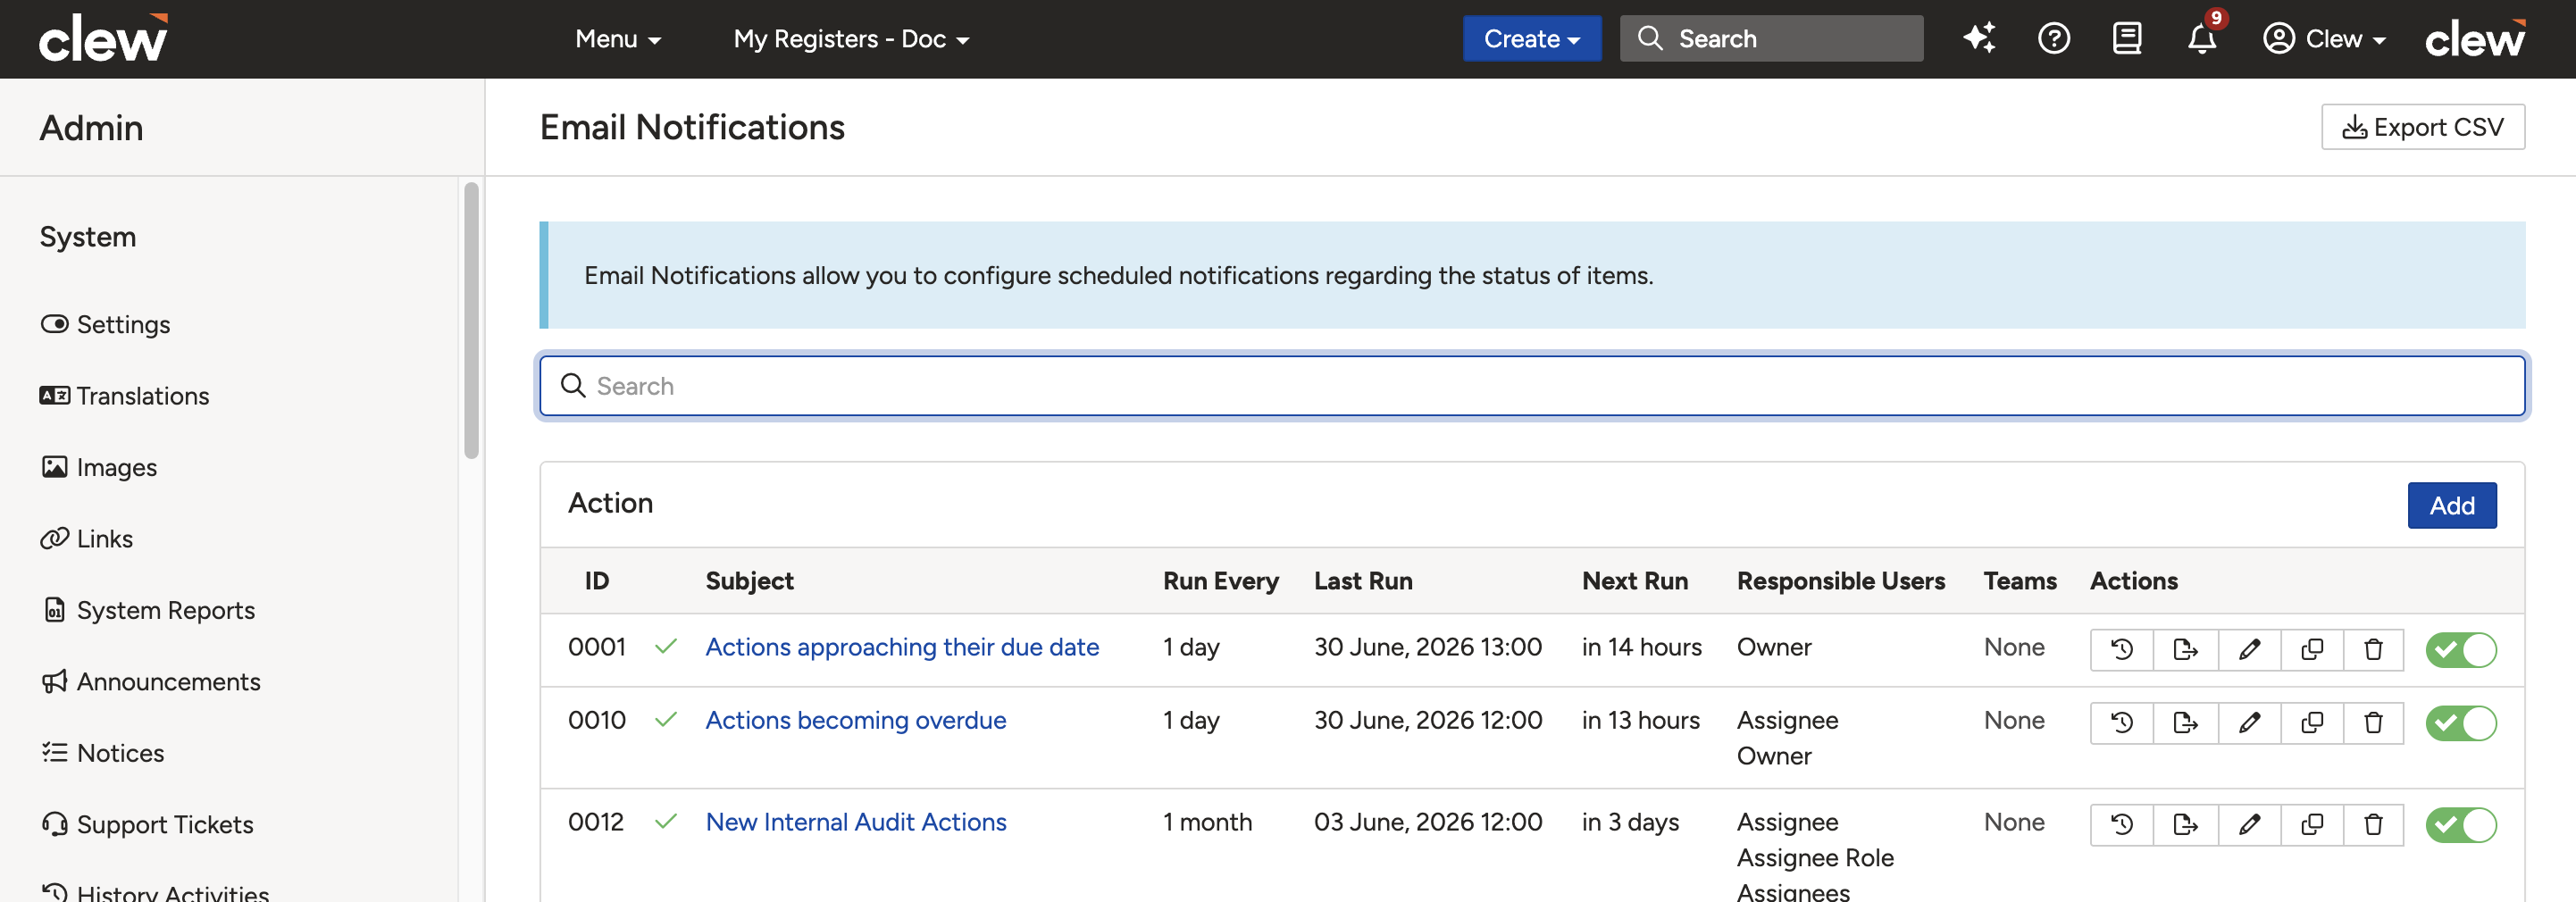
- Navigate to Admin > Email Notifications. This opens a list of all existing email notifications in the Clew Platform, grouped by module.
- Find the module you want to add a notification to and click Add. The form will load. Complete the fields as described in the table below and click Save.
The Email Notification form with all configurable fields.
| Field | Description |
| Subject * | The subject line of the email. Also displayed as the notification's name in the Admin list view. |
| Message | An optional introductory message shown at the top of the email body. This is the first thing recipients see when they open the email. |
| Footer | An optional message shown at the bottom of the email body. Use it for closing instructions, contact details, or supplementary context. |
| Scheduling | |
| Run Every * | How often the notification process will run, set in months, days, or hours. Note: a notification set to run daily will not send an email every day; it will only send when the configured conditions are met at run time. |
| Next Run | The date and time you want the notification to run next. For new notifications, use this to set the start date. |
| Content | |
| Fields Always Visible | Fields that always appear in the email's data table regardless of the recipient's screen size. Use this for the most critical information, as these fields will display correctly on mobile devices too. |
| Fields Visible on Wide Screens | Additional fields shown when the email is read on a wider screen such as a desktop or tablet. These are hidden on smaller screens to keep the email readable. |
| Sort Field | The field used to sort records in the email's data table. Choose a field that puts the highest-priority items first (e.g. Due Date). |
| Sort Direction | The direction the Sort Field is applied: ascending or descending. |
| Recipients | |
| Responsible Users | Select specific user relationships that should receive the notification (e.g. Action Owner, Action Assignee). Users in these roles on each matching record will receive the email. |
| Roles | Select the platform roles whose members should receive the notification (e.g. General Manager, Supervisor). |
| Teams | Select the teams whose members should receive the notification (e.g. Safety Team, Risk Team). |
User Preference Settings
The following settings give users control over how they receive the notification in their personal settings.

The User Preference settings section on the Email Notification form.
| Setting | Description |
| Allow Users to Receive This Notification in a Digest | Default: Yes. Allows users to mark this notification as a digest in their personal settings, grouping it with other notifications into a single email to reduce inbox overload. |
| Allow Users to Opt Out of This Notification | Default: Yes. Allows users to disable the notification entirely in their personal settings. |
| Default Preference | Default: Receive immediately. Sets the default delivery preference for recipients. Options are: receive immediately, receive as digest, or do not receive. |
- To edit a notification, click the pencil icon on the corresponding row in the list.
- To delete a notification, click the delete icon. This action is irreversible.
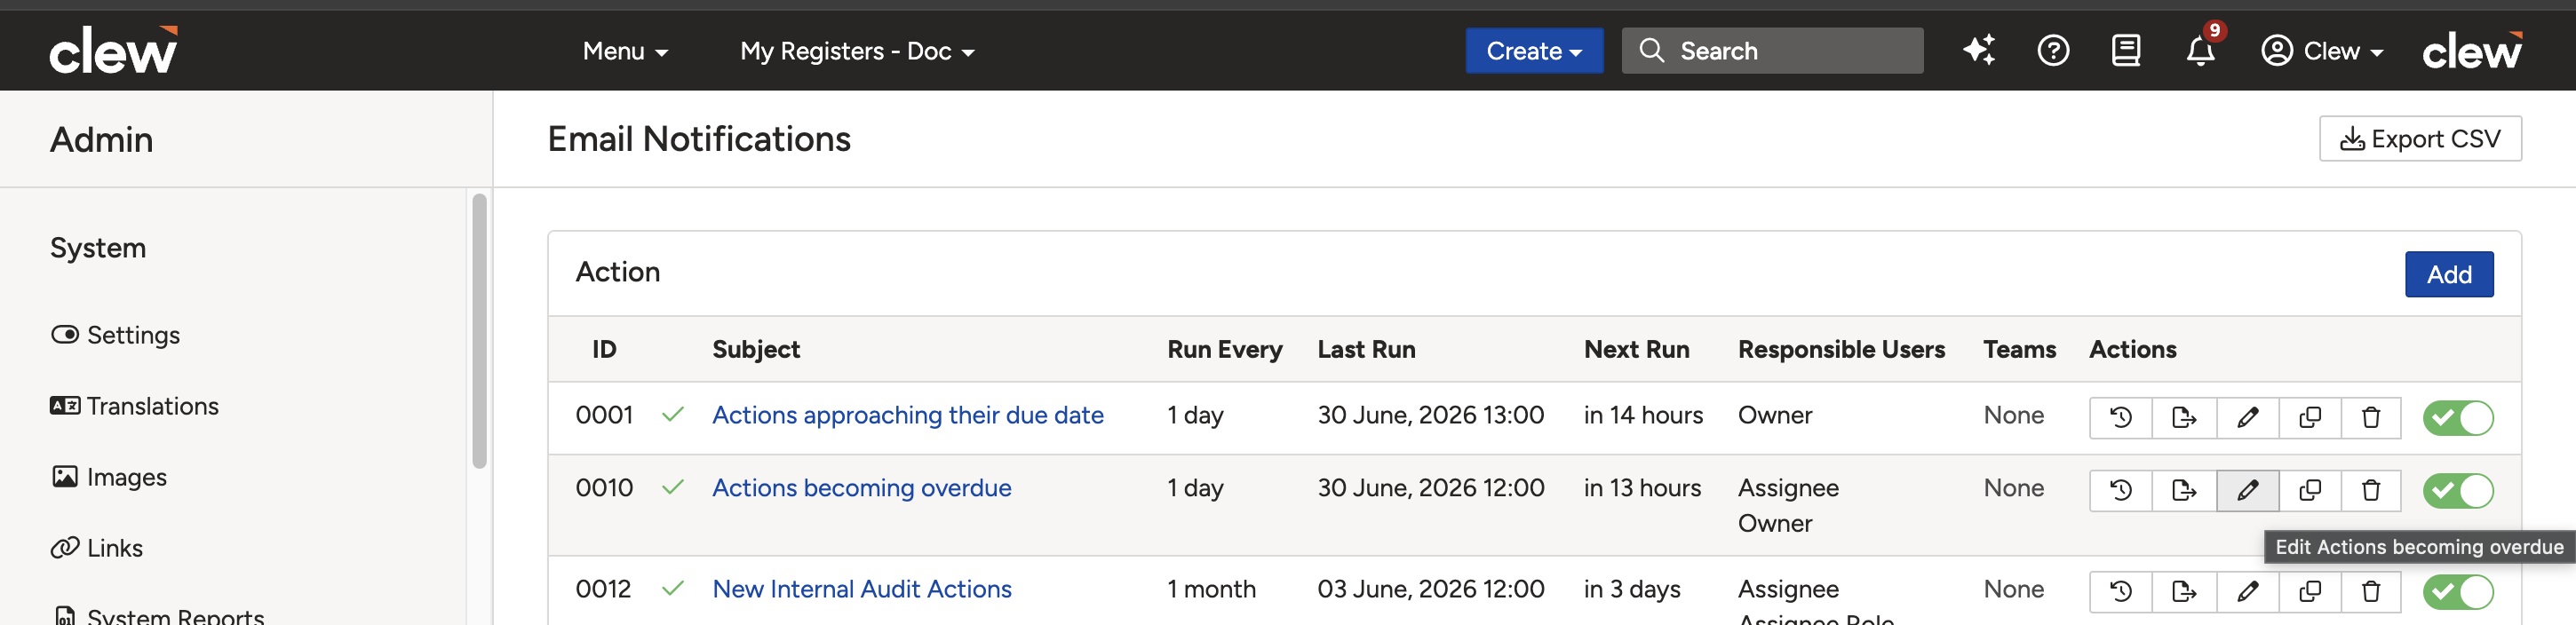
The edit (pencil) and delete icons on each notification row in the list view.
Adding and Editing Conditions
Conditions determine which records are included when a notification runs. The notification will only include records that satisfy all configured conditions at run time. Without conditions, the notification will include all records in the module for the configured recipients.
- Navigate to Admin > Email Notifications.
- Click the subject of the notification you want to set conditions for.
- The notification detail page will load, showing both the notification settings and the Conditions panel below.
- Click Add in the Conditions panel to open the condition form. Complete the fields and click Save.
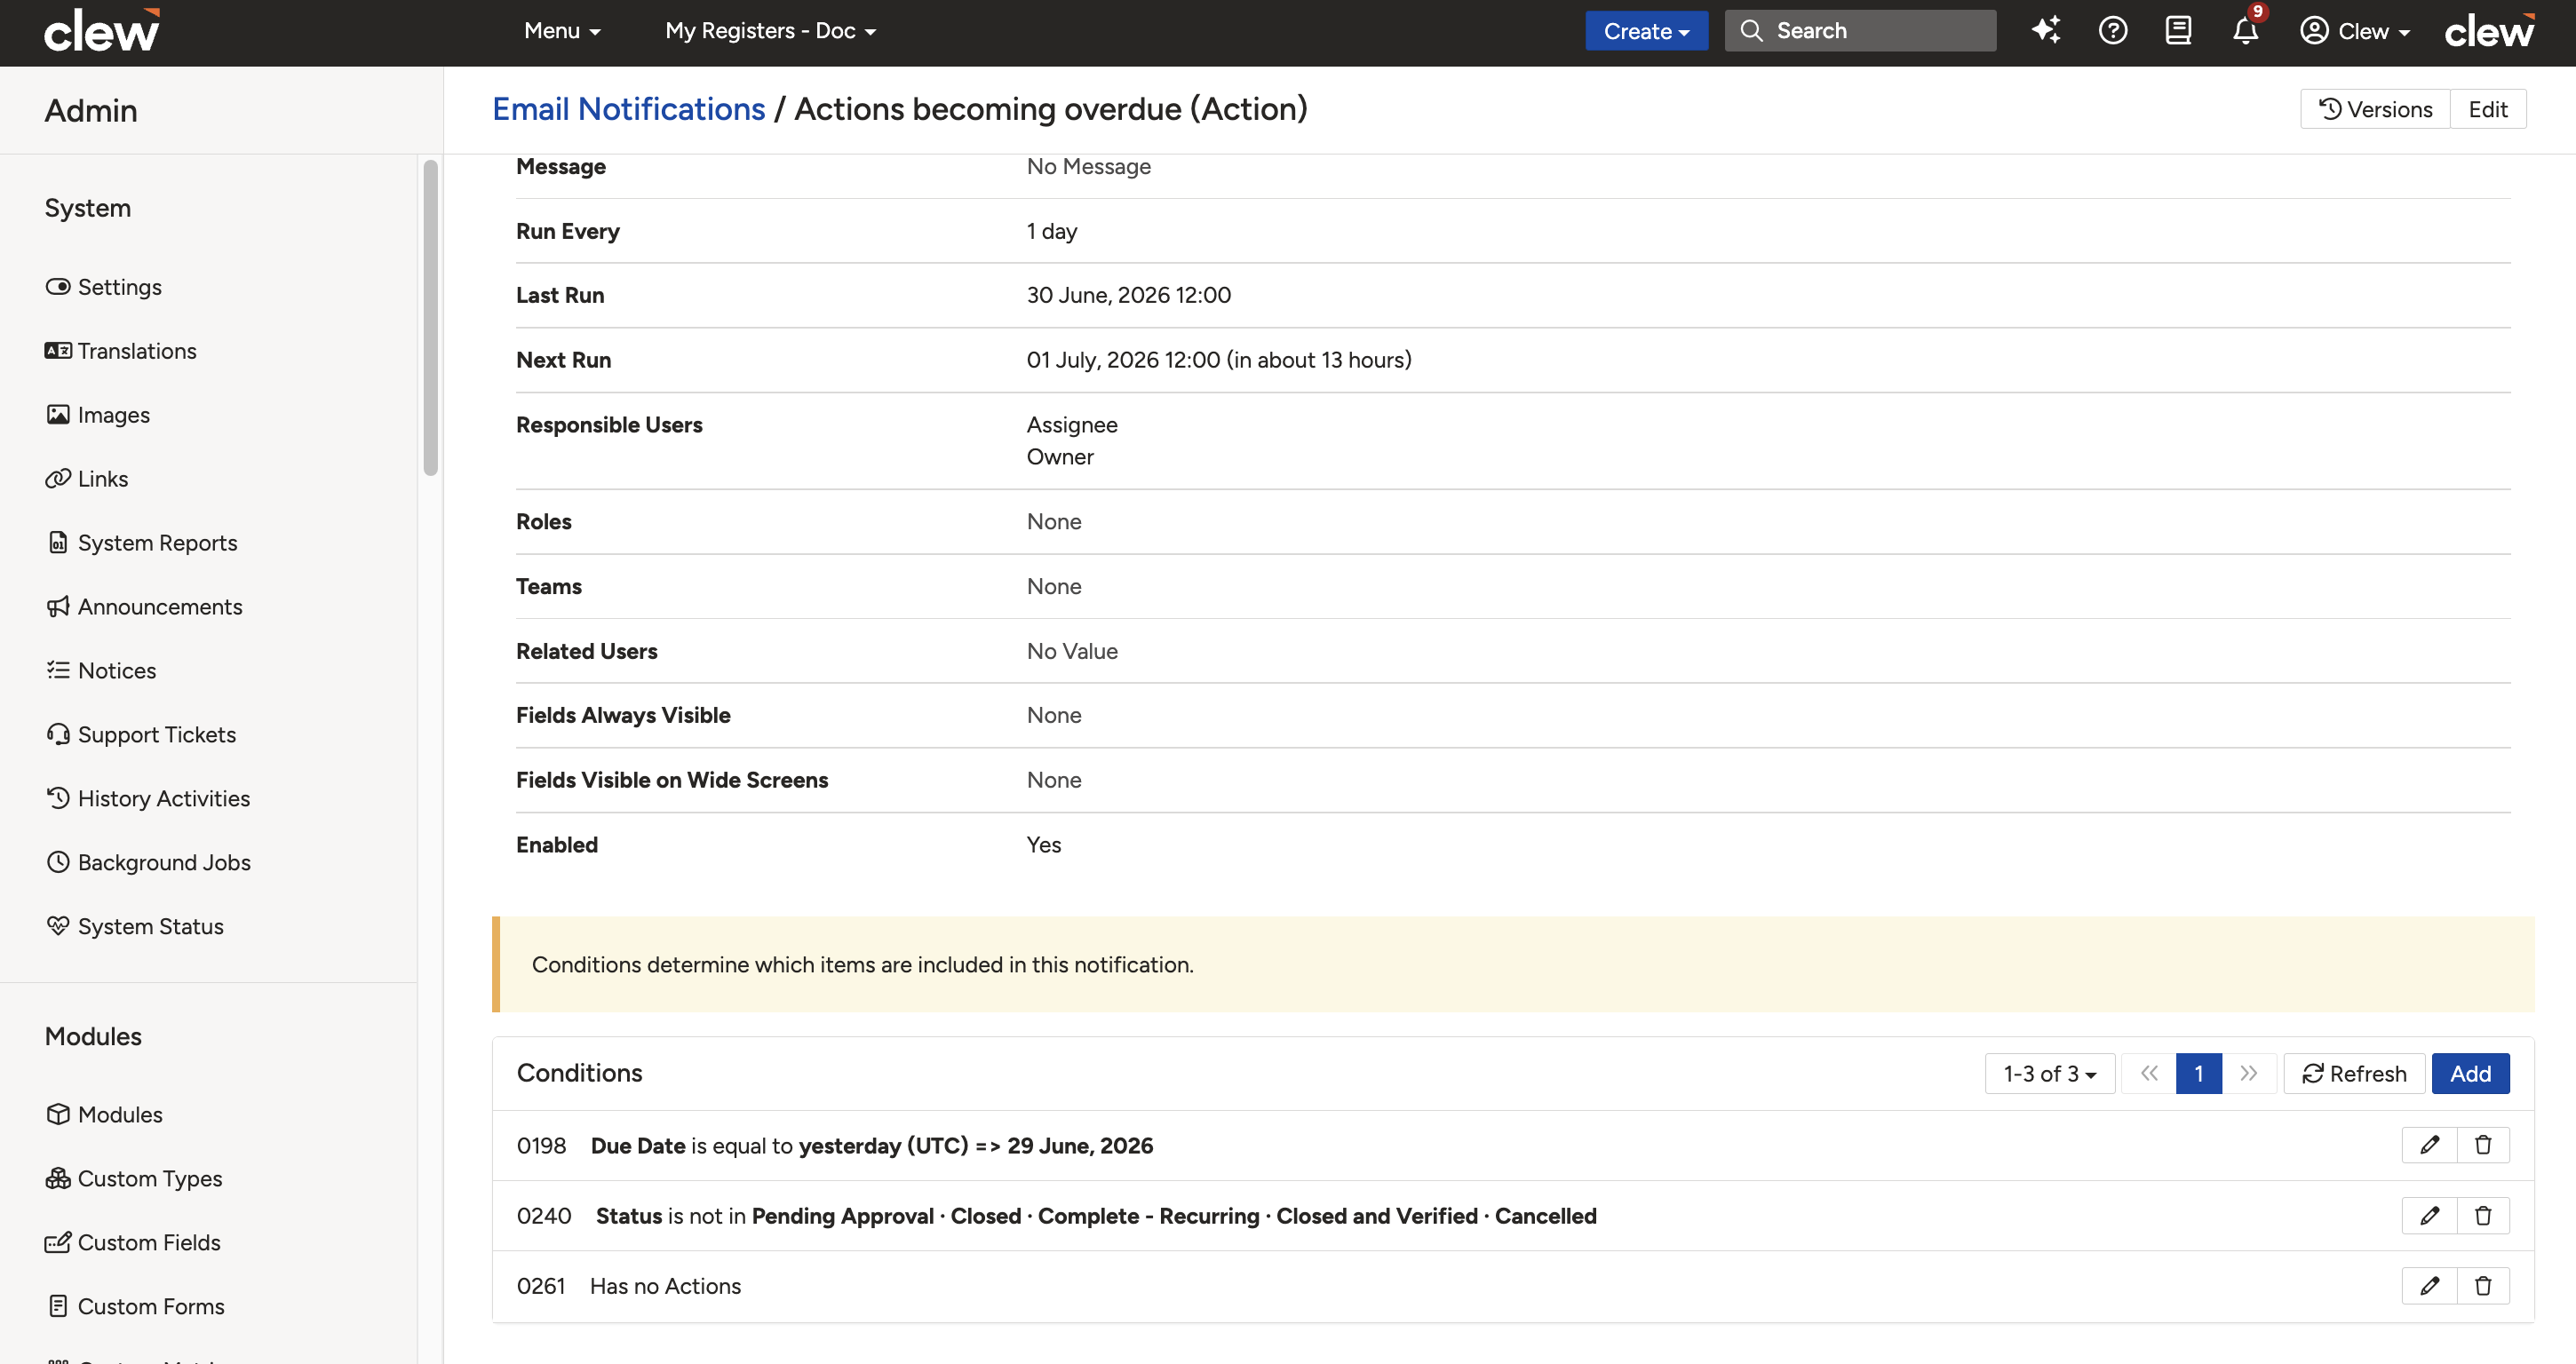
The Conditions panel on the email notification detail page.
Select a Condition Type from the options below. The form will update to show only the fields relevant to your selection.
| Condition Type | Description |
| Compare a field to a value | Compares the value of a selected field on each record and returns true if it matches the value you specify (e.g. Status equals "Overdue"). |
| Compare a field to another field | Compares the value of one field to the value of another field on the same record and returns true if they match according to the operator selected. |
| All related items are closed or it has no items | Returns true if a related record list is empty or all items in it are closed (e.g. all actions related to an audit finding are closed). |
| Has one or more related items | Returns true if a related record list contains at least one record (e.g. a risk that has linked actions). |
| On Notification Day | Relates to recurring actions. Sends the notification according to the action frequency table. See the Recurring Action Configuration article for more detail. |
Additional Condition Fields
Depending on the condition type selected, additional fields will appear on the form.
| Field | Description |
| Field (Options 1 and 2) | The record field to be evaluated against the condition. |
| Operator (Options 1 and 2) | The comparison logic to apply (e.g. is equal to, is greater than, is before). Select the operator that matches the condition you want to enforce. |
| Value (Options 1 and 2) | For Option 1: the value the field is compared against. For Option 2: the second field to compare to. |
| Relationship (Options 3 and 4) | The module relationship to target (e.g. Actions). The condition will evaluate the linked records of this type for each record in the notification. |
| Invert Result (Options 3 and 4) | Inverts the condition result. For example, selecting "Has one or more related items" with Relationship "Actions" and Invert Result enabled will include only records that have no linked actions. |
- To edit a condition, click the pencil icon on the relevant condition row.
- To delete a condition, click the delete icon. This action is irreversible.
For further detail on how conditions work, see the related article linked in Section 6.
5. Common Issues & Troubleshooting
| Issue | Likely Cause | Solution |
| A user is not receiving the notification | The user has opted out, their preference is set to digest, or they lack Read access to the relevant records | Ask the user to check their personal notification settings. Confirm they have at least Read access to the relevant records. |
| The notification runs but no email is sent | The configured conditions were not met at run time, so there were no records to include | Review the conditions on the notification and confirm at least one record currently satisfies all of them. Temporarily remove conditions to verify the notification itself is working correctly. |
| A user receives fewer records than expected | Some records were excluded because the user does not have Read access to them | This is expected behaviour. Update the user's role or security group to grant Read access to the missing records if appropriate. |
| Email Notifications cannot be found in Admin | The user does not have System Administrator access | System Administrator access is required to view and manage email notifications. Contact your platform administrator to request elevated access. |
Best practices:
- Set Sort Field to Due Date and Sort Direction to ascending so recipients see the most urgent items first.
- Limit Fields Always Visible to three or four critical columns so the email remains readable on mobile.
- Enable Allow Users to Opt Out for all non-critical notifications to reduce friction and keep recipients engaged with the emails they do receive.
- Use Invert Result on relationship conditions to surface scenarios such as records with no linked actions that might otherwise go unnoticed.
Click a title to preview it here. Use the Open full article button to read the full version in a new tab.
▾How can I update the schema's order or conditions? Open full article »
Related article
How to update the order and conditions on schema forms, which controls how fields and records behave across the module.
▾Roles and Permissions Open full article »
Related section
Browse the Roles and Permissions articles, which govern the Read access that determines which records each recipient sees in a notification.
Was this article helpful?
That’s Great!
Thank you for your feedback
Sorry! We couldn't be helpful
Thank you for your feedback
Feedback sent
We appreciate your effort and will try to fix the article